How to stitch Lynnie Pinnie Faux Chenille Fonts and Designs

Supplies needed:

  • Purchase this font and other chenille fonts and designs HERE
  • HTV: Heat transfer vinyl (Cricut brand iron on was used in this sample – available in many big box and craft stores). PEEL OFF PLASTIC CARRIER SHEET BEFORE STITCHING. Glitter and flocked vinyl are the easiest to tear away. We do not recommend smooth.
  • Tape
  • Your choice of embroidery thread, garment or blank, and appropriate stabilizer for your garment or blank. This is a dense font that you will need to stabilize well.
  • Optional – vinyl weeding tool
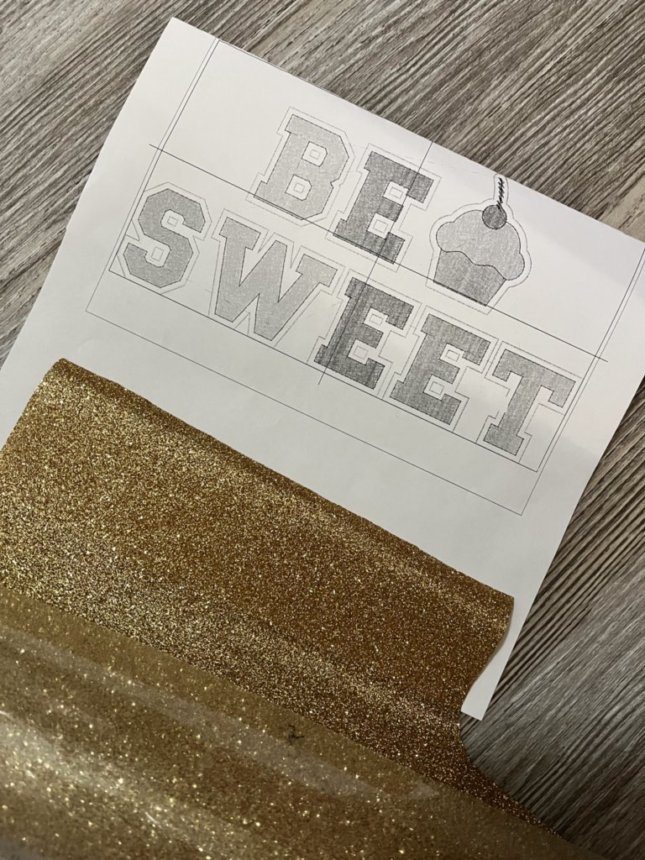
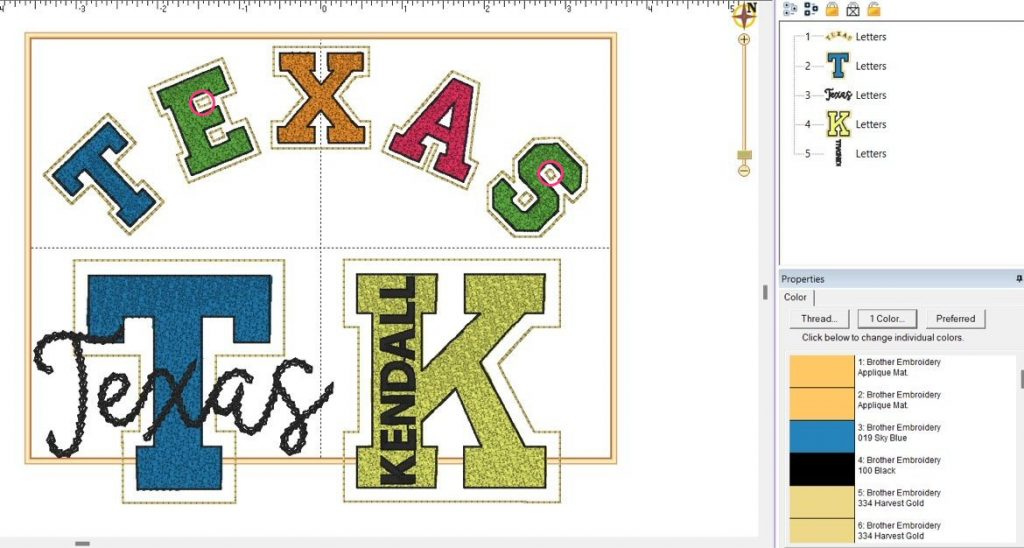
  • Optional – embroidery software. I used Embrilliance Essentials to set up my lettering, color sort my design, and print a template.
Heat Transfer vinyl. You will need to peel away the plastic carrier sheet before stitching.
My printed template and heat transfer vinyl with carrier sheet peeled back.

Let’s get stitching!

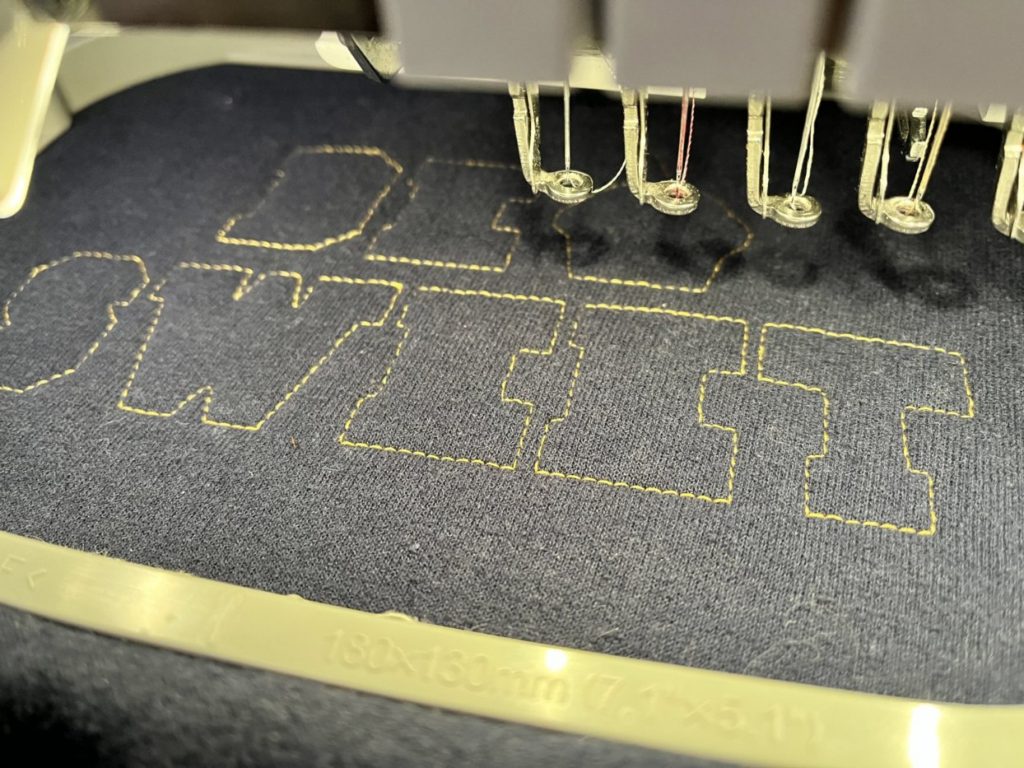
I hooped and stabilized my garment, and then stitched step 1, my placement stitch, in a color that closely matches the HTV.

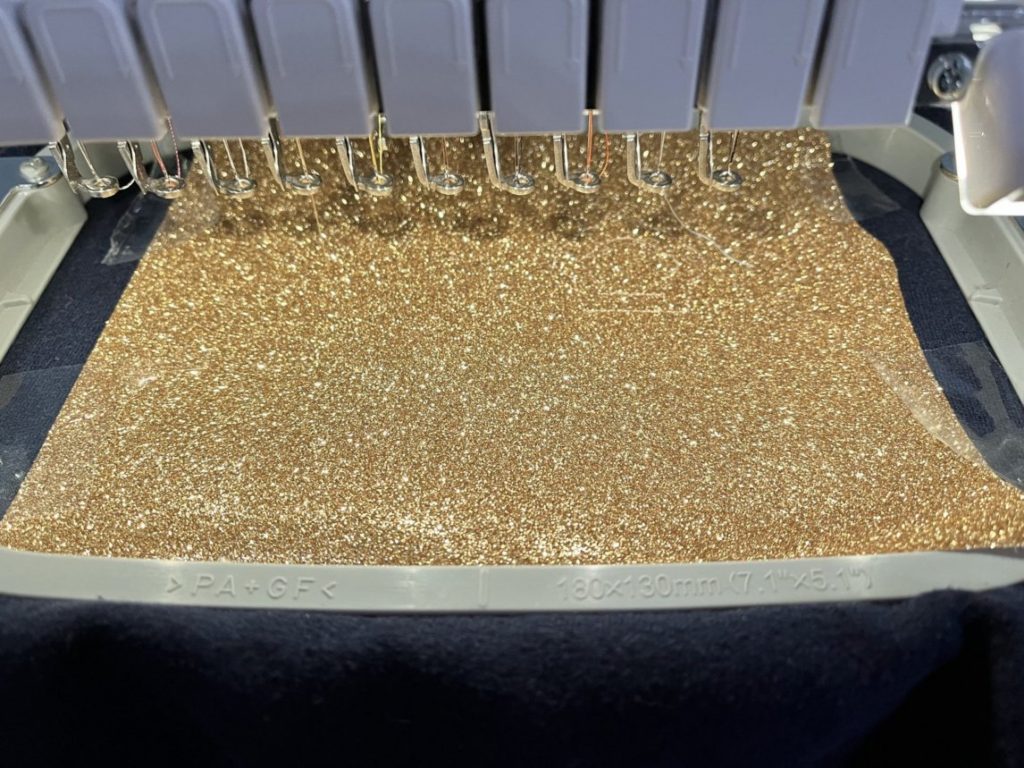
Next, I laid the HTV over the placement stitch, making sure to cover all of the placement stitches. I used a bit of tape to hold it in place because the embroidery machine needle tends to lift and move the HTV. The HTV plastic carrier sheet has been removed.

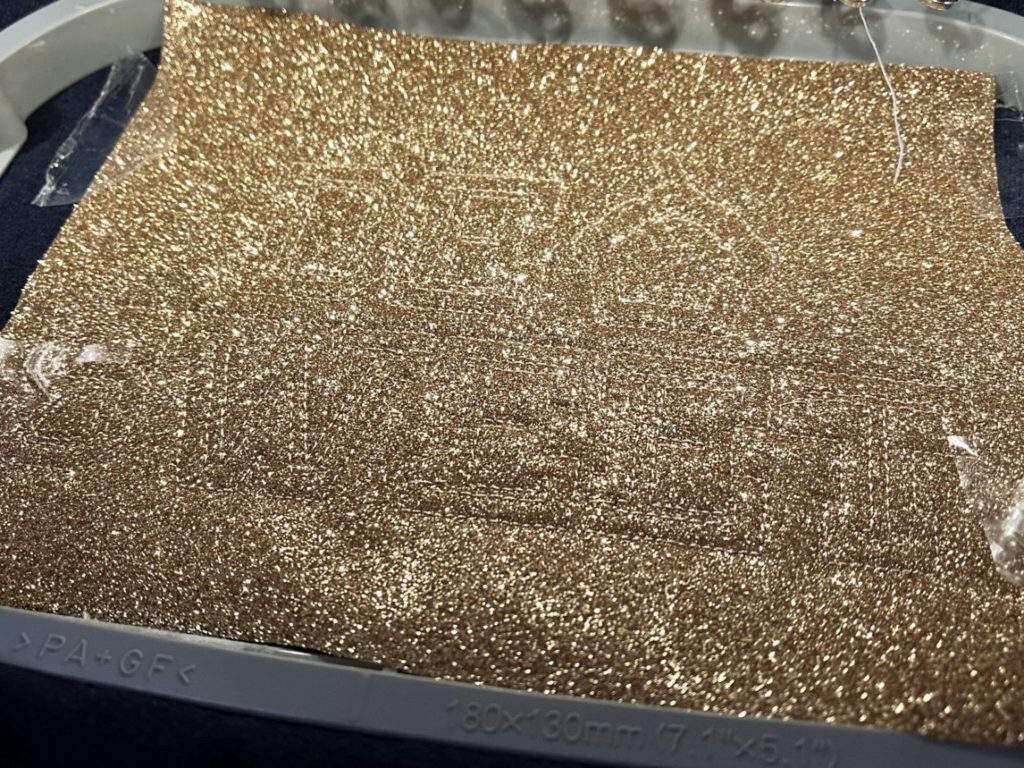
The next step will be your tack down stitch. I used the same thread color again.

If you are stitching the larger faux chenille designs, stitches will go over the HTV to prevent bubbling so its important that your thread is a close color match.

After the vinyl was tacked down, I used my choice of thread colors for the letters and outlines.

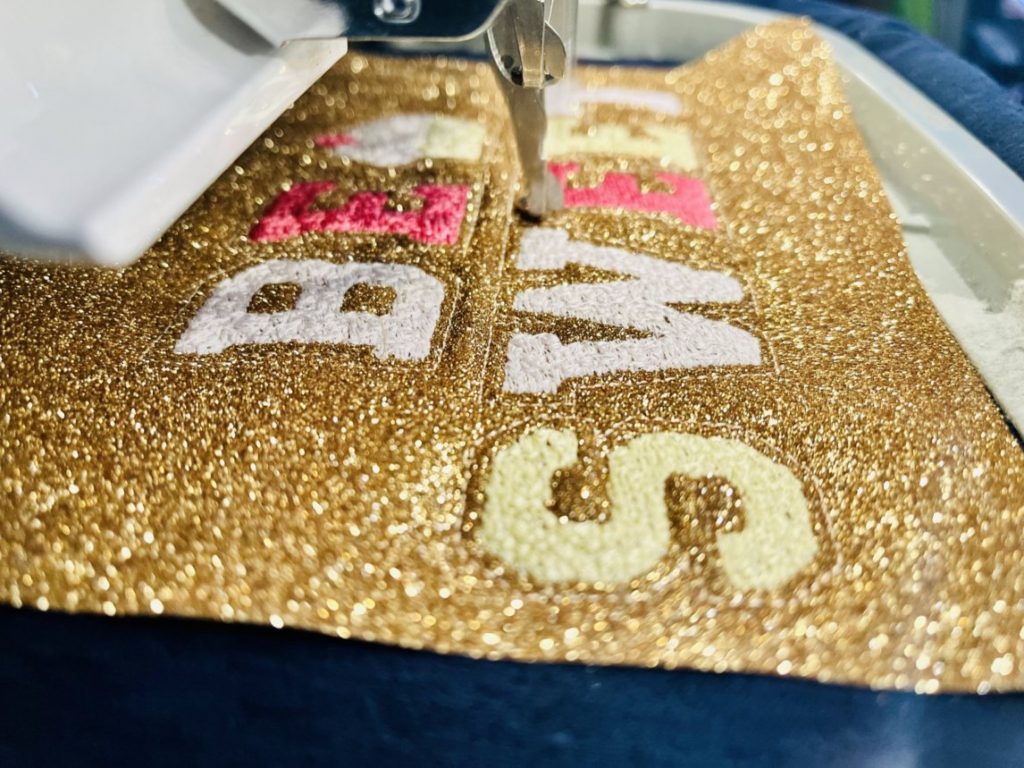
The final stitch will be an outline around the letters. Again, I used a thread color that matches the HTV.

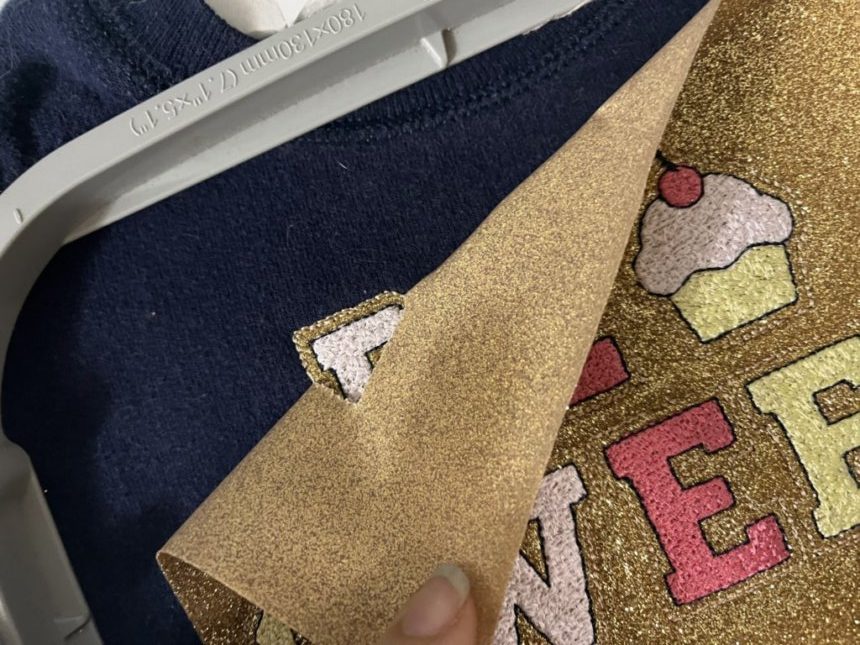
Now for the fun part!

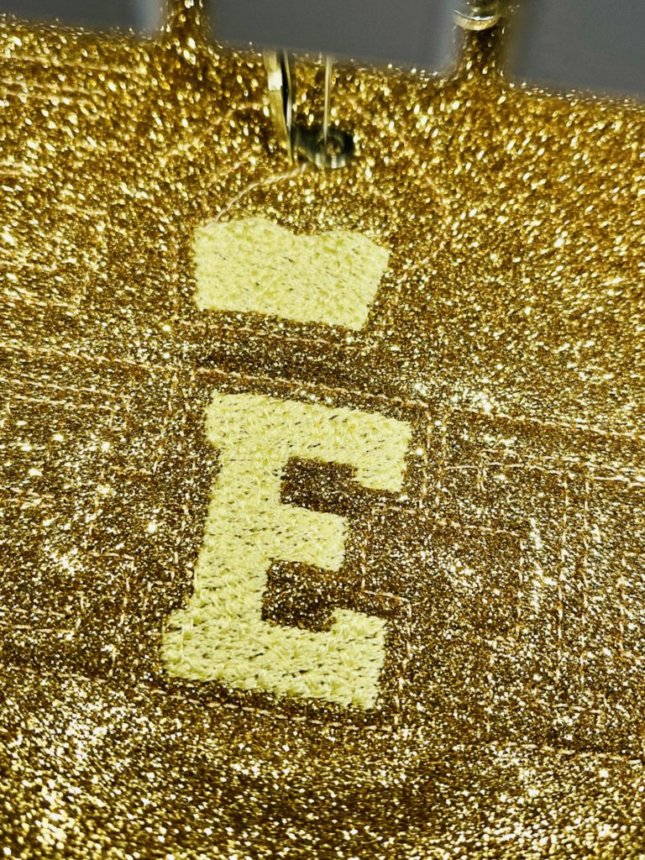
Carefully peel away the excess HTV. You can use a vinyl weeding tool to help with small areas. If you stitch this font in a smaller size, like I did, you can leave the small areas that are inside the holes, for example, inside the letter “E”, or you can weed them out. It’s up to you!

Examples of small areas are circled in pink. Leave them or remove them – your choice!
Excess vinyl pulls away, no scissors or trimming required!

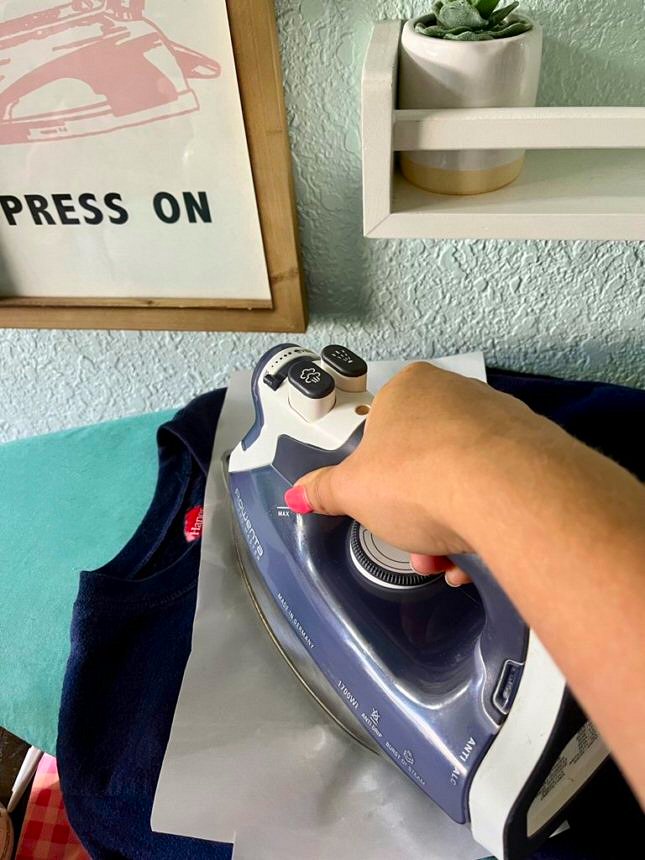
Final step – don’t skip this!

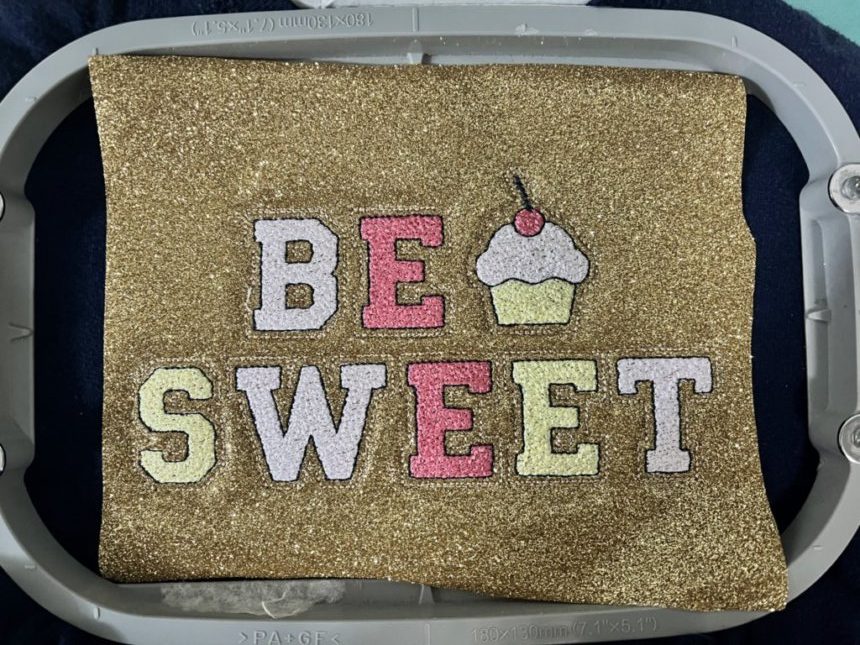
Once you have removed all of the excess vinyl, follow the instructions on the vinyl package to fuse the HTV to your garment or blank with a heat press or iron. USE A TEFLON SHEET OR PRESSING CLOTH TO PROTECT THE EMBROIDERY!
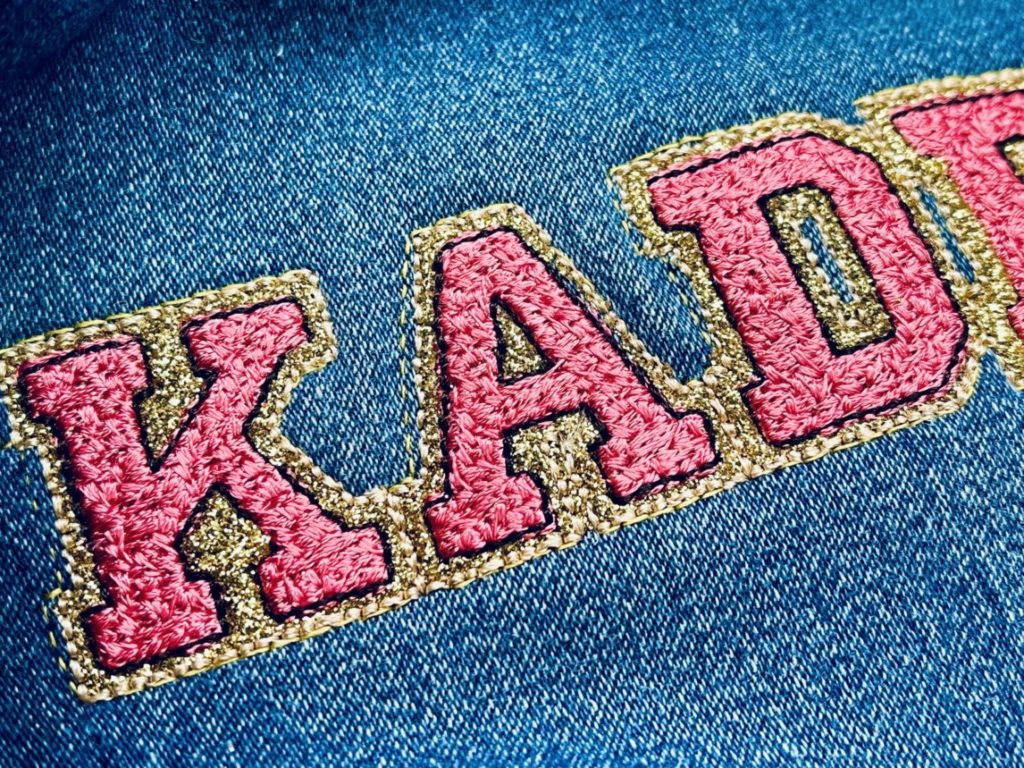
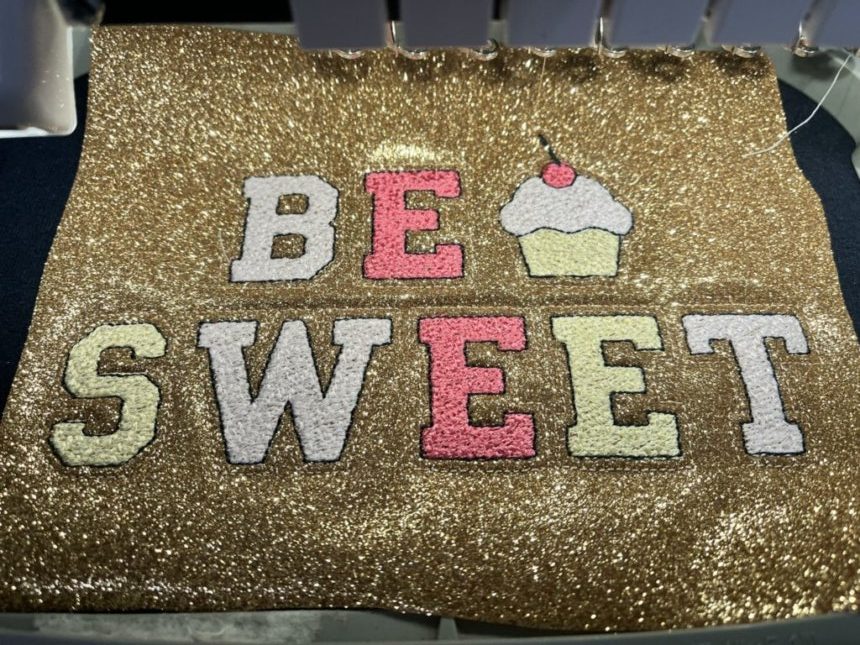
All done!

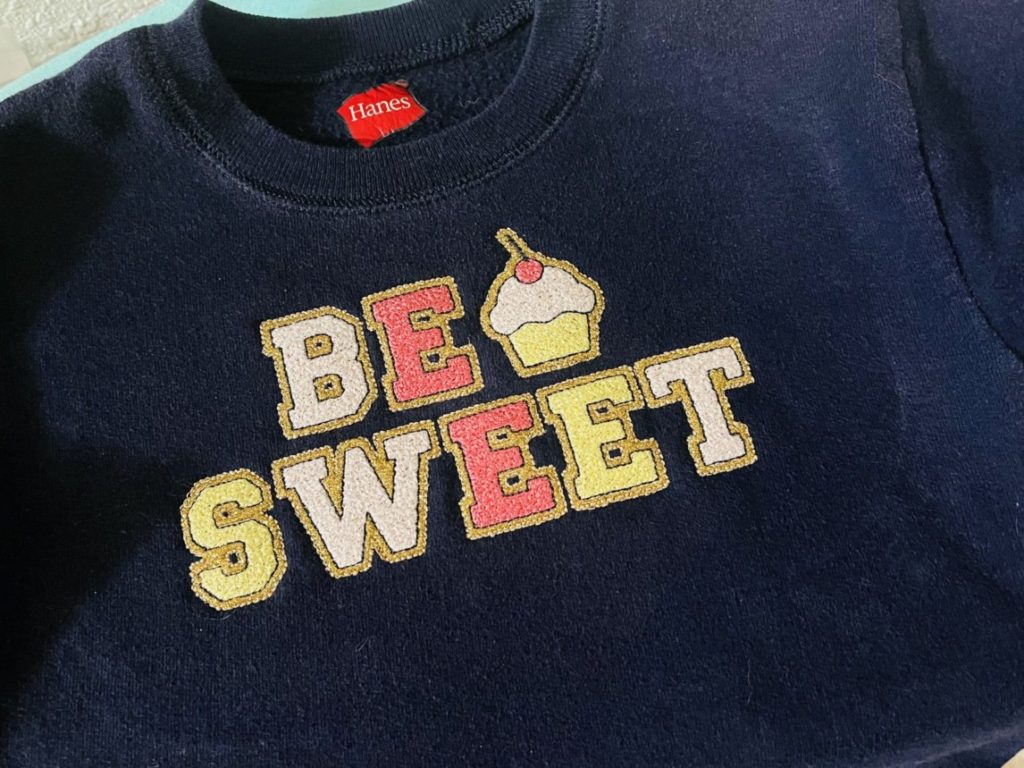
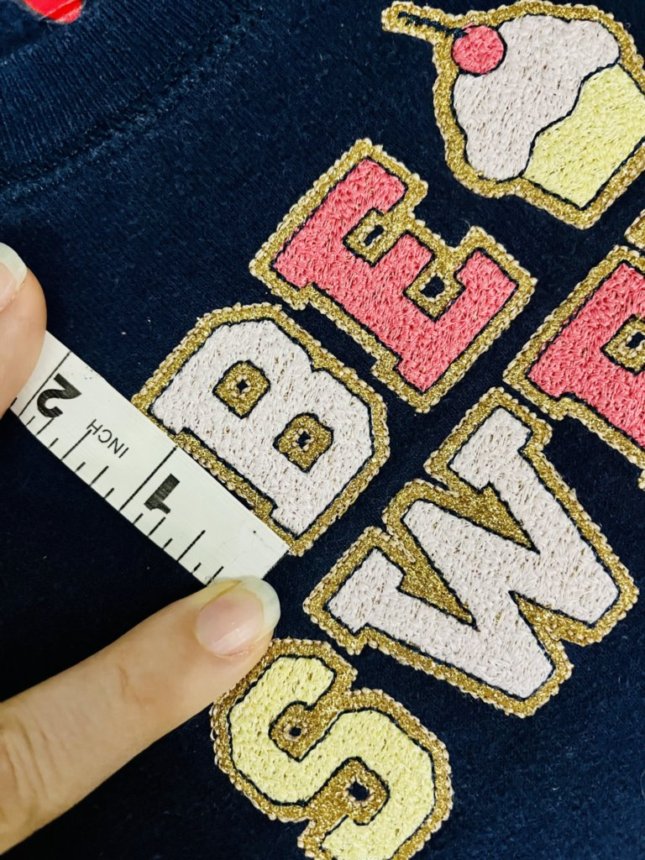
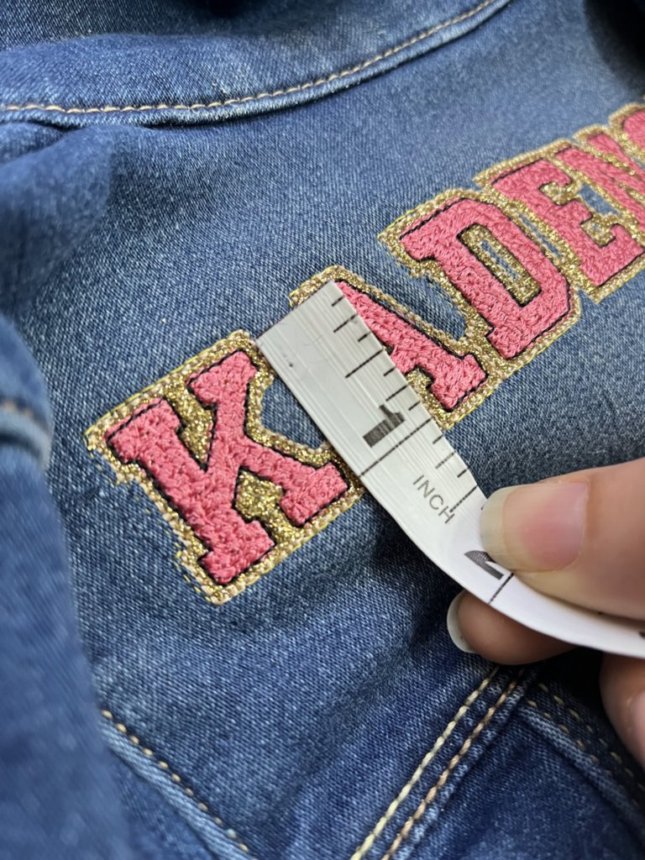
This font is such a great way to achieve a look that would be otherwise impossible (or at least VERY difficult) in a smaller size. Yes, it is a dense, higher stitch count design but personally, I would rather let the machine stitch this out than try to trim a piece of fabric this small with scissors. NO THANKS!

The stitches lie flat – the faux chenille look is achieved with a unique stitch pattern.

Feel free to Contact Us with any questions.

Happy Stitching!

Opening SVG files in Cricut Design Space

I’ll spare you the suspense and start by saying that this post doesn’t really offer a specific solution to the problem with SVG files and Cricut’s Design Space software but there’s a response from Cricut at the end of the post that might answer some of your questions.

For the past 3 years or so, we have been including SVG files with some of our Lynnie Pinnie designs as an alternative to cutting fabric in the hoop. We also started offering some of our exclusive designs as cut files for your vinyl and paper crafting projects back in 2014.

Since we have offered these files, we’ve heard from a number of customers who can’t correctly import some of our files into Cricut’s Design Space program.  This program is supposed to open a variety of formats — including SVG, but the files either open as teeny, tiny black blobs or very distorted and unusable.  Unfortunately, what some customers have told me is that Cricut support tends to blame the file designer for these issues.  I can assure you that we are doing everything possible to create files that open correctly for all of our digital cutting customers!  The files are being saved with the right settings and are not corrupt.  We know that sizing is especially important when the files are used for cutting applique pieces.

There are a number of “fixes” on the internet, most of which involve opening and re-saving the files but none that I have found to work consistently.  I wanted to get straight to the root of the issue so I contacted Cricut support.  I explained that our files opened at the correct size and maintained design integrity in Silhouette software, Make the Cut software, Inkscape software, and several other popular programs.  They requested screen shots and files.

The first image shows how the design is previewed in Design Space before it uploads.  So far, so good!

CricutDS1

When I inserted the uploaded file into Design Space, this is what I got.  At first glance it looks like an empty canvas but the design actually imported at 0.11 inches!

CricutDS2

Cricut support suggested that I use the resize function to bring the design to a usable size and proportion.  Here is the result of that.  Obviously this file is not going to cut correctly.

CricutDS3

Here is the same file in Corel Draw.

Cricut1

This is Silhouette Designer Edition.

cricut4

Finally, here is Inkscape.

cricut5

Here is my conversation with Cricut support after I sent the files and screenshots that they requested.  I blurred the representative’s name because it’s not his fault that the software has issues and he did his best to help.

BLOGCricut2

BLOGCricut3

So, as you can see, there is currently no way to consistently open and use all SVG files in Design Space software.  Cricut recommends using 3rd party software as a workaround or to import a JPG or PNG file and work with that.  I hope that Cricut plans to improve the SVG import function with the next Design Space update!

Website:  www.LynniePinnie.com

Facebook

Facebook Group (freebies!):

Newsletter (more freebies!)