If you run an online business, one of the most important pieces of the puzzle when it comes to selling is the photography of your products. Pictures that are out of focus, or fuzzy, or poorly lit, or just badly staged can sabotage sales in a way that can see your bottom line leaking red ink. Bad pictures can kill a good website design. The saying “A picture is worth a thousand words” is a saying for a reason. A good picture can sell your products in a way paragraphs of copy cannot (and I say that as someone who writes for a living and loves words). So, given that we know good product photos are important, the question becomes how do we get the best photos possible? That’s what I want to talk about a little bit today.
The first thing is to make sure you start with the best finished product you can create. That means you’ve trimmed any strings and gotten rid of any loose threads. If you’re photographing embroidery on a garment, make sure the garment is wrinkle and stain free. When planning a design/garment combo that you know you’re making to photograph, you also might want to take into account the interaction of fabric and thread. You want the end result to be one that is harmonious, but also something that showcases the embroidery work you’ve done. So take that into account.
The next thing is to create a photo backdrop. Some people will have a variety of these based on color or pattern, other people just go with something simple like a standard white backdrop. These backdrops can be purchased ready made, or can be created using contact paper or photography paper and large pieces of cardboard. You may want a couple of these backdrops. One to put under the product and one to put behind it.
After you’ve got your backdrop set up, the next task is to light your product. Good lighting is a must for good photography. Luckily, certainly since the days when the pandemic began, there are a wide range of lighting options in a wide range of prices. You can opt for something simple like a ring light, or you can purchase lights designed specifically for photography. A lot depends on your budget, how many photos you think you’ll be taking and the cost of what you’re selling. It goes without saying that you should purchase the best lighting option you can, but it’s not worth investing hundreds of dollars in lighting if your products only sell for twenty dollars or less. Even a basic lighting option is likely to be able to do the job.
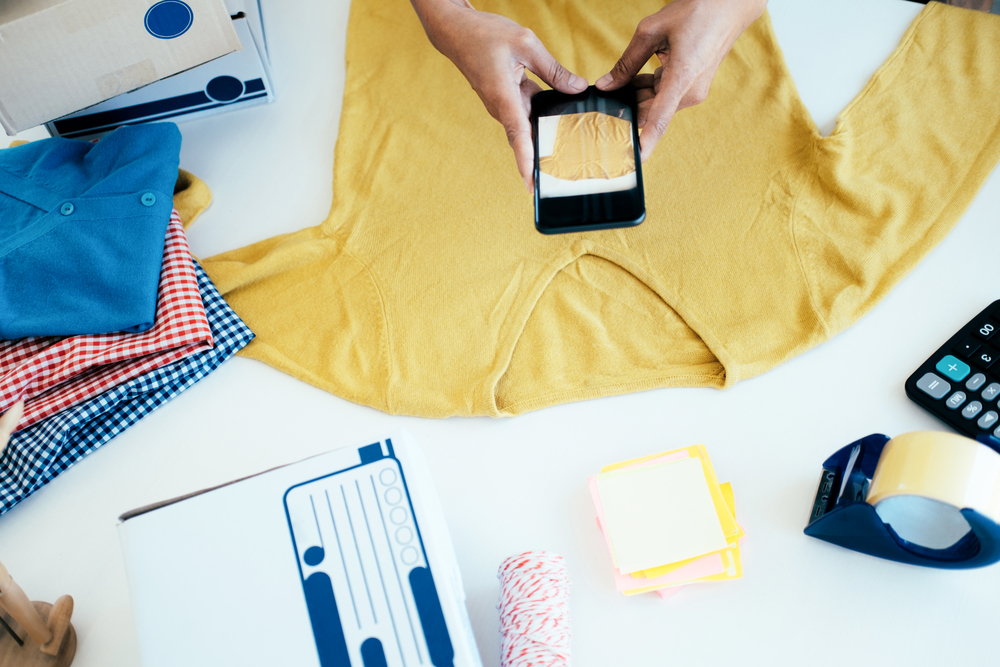
After your product is staged and lit, you need to figure out what you’ll use to take the picture. Back in the day, an expensive camera was deemed the best tool for the job and in some cases, an expensive digital camera might be your best option. For a lot of businesses, however, the camera on your mobile phone can capture pictures that will be more than useful. Given how much technology has progressed and the quality of cellphone cameras, it’s entirely possible you won’t need more than your phone to get quality pictures.
Finally, after you’ve figured out your backdrop, lighting and camera options, the last thing is to stage your picture. How you stage things depends somewhat on where you’re selling. If you’re photographing things for your own website, you may just want a straightforward product shot with nothing extra stealing focus from the item you’re selling. Those who sell on Etsy and other platforms of that type may wish to add props in the photo with their product, creating more of a lifestyle picture than a simple photo of one product. Staging your product can create more interesting pictures, but avoid getting so elaborate that you obscure whatever item is for sale.

